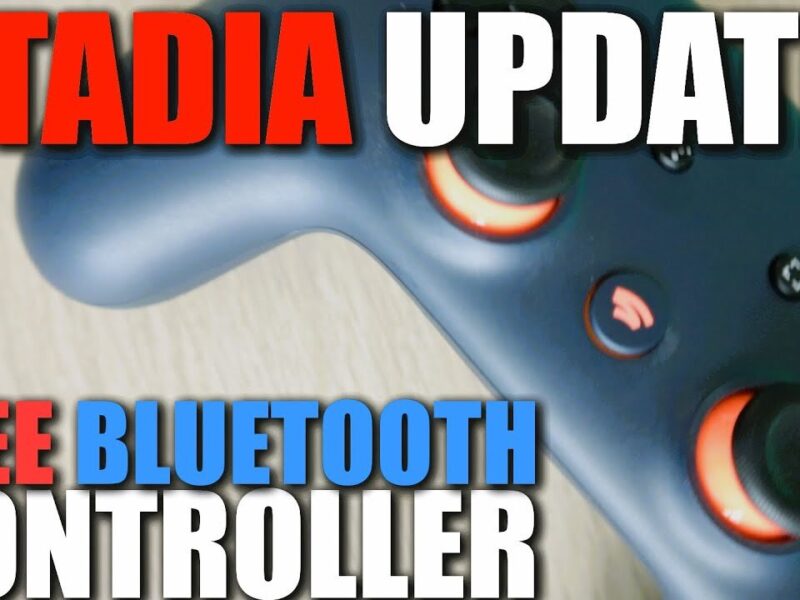
The free tier of Google Stadia launched in 2020, so access to Google’s cloud game streaming service is readily available to a wide range of people across a list of countries. If you want to try it out, feel free to pay the $69 for the official Stadia Controller; you don’t need to let that stop you.
You can, of course, buy one from Google if you choose to. And if you want to play wirelessly on the Chromecast Ultra, the company’s Stadia Controller is your only option. But on PC and mobile, the service works wirelessly with most popular console gaming controllers, including the Xbox Series X / S controller and the PlayStation 4’s DualShock 4 controller. Even controllers dating back to the Xbox 360 will work.
For the most part, Stadia’s wired and wireless controller support is good, though not perfect. For instance, Stadia supports some wireless controllers, but others might need to be physically plugged in to work as intended. Whether it works wirelessly or not might come down to which device you’re playing on: a Windows 10 / Windows 11 / Linux / macOS PC running Google Chrome.
It’s all a little complicated, but below, we try to make it easy with some steps to connect popular controllers to Stadia on any supported device.
PLAYSTATION DUALSHOCK 4 CONTROLLER
Sony’s aging controller for the PlayStation 4 works wired or when connected via Bluetooth with your computer running Google Chrome (version 77 or greater). This controller also works with phones running Android 10 or later in wired or Bluetooth mode.
To use a DualShock 4 with Stadia via a wired connection, find a Micro USB to USB-A cable and link the two sources. The drivers should download automatically.
To connect it wirelessly via Bluetooth to your computer or a phone, ensure the device that will host Stadia is in Bluetooth pairing mode. Then, on the DualShock 4, press and hold its “Share” button just to the left of the touchpad, then have the middle “PlayStation” button with the logo on it. The light bar at the top of the controller will start to blink, an indicator that it’s looking for a device to pair up with. They should find each other. If not, try it again.
XBOX SERIES X/S AND XBOX ONE CONTROLLERS
It’s the same story for the Microsoft Xbox Series X / S controller and older Xbox One controllers. Stadia supports these controllers on PC (on Chrome with version 77 or later installed), whether they’re wired or if you’re connected via Bluetooth. Phones that can run Stadia will also support the wired or wire-free controller.
The Xbox One controller, just like the DualShock 4, has a micro USB port, while the newer Xbox Series controller got upgraded to USB-C. You can connect any of them to your PC with the corresponding cable. They’re easy and cheap to find, and you probably already own one or a few.
Before trying to connect your Xbox One controller via Bluetooth, ensure that it’s Bluetooth-ready to begin with. Microsoft has made a few different models of that controller, one of which doesn’t support Bluetooth. Thankfully, there’s an easy way to tell: if your gamepad has glossy plastic surrounding the Xbox button, it does not support Bluetooth. If it has a 3.5mm headphone jack on the bottom, it indicates that it has Bluetooth and will work. If you have the newer Xbox Series controllers, fear not, as they all support Bluetooth.
To pair the controller, turn it on by holding the Xbox button in the middle. Once it lights up, click and save the connect button on the top edge of the controller until the Xbox logo blinks faster. This indicates that you’re ready to pair. Ensure your target device (a phone or PC) is in pairing mode.
Source: The Verge
